Makeup for face shape is often presented as a set of arrows: dark here, bright there, then somehow wake up with a different outline. Real faces are less obedient, and that is good news. A little placement can shift emphasis, but the best result usually comes from noticing your own cheekbones, temples, and jaw in daylight rather than copying a diagram built for somebody else.
Decide what you want makeup to do today
Before reaching for contour, choose one modest aim. Perhaps you want blush to bring colour higher on the face after a late night, want the jawline to read a little more clearly in photographs, or want to soften the contrast between a broad forehead and narrow chin. Trying to reshape every feature at once is where makeup begins to look dusty rather than polished.
Face-shape labels can describe a general outline, yet they do not account for the feature that catches the eye first. An oval face with strong cheekbones may need less sculpting than a round face with naturally high temples. Look at a bare-faced photo taken from a few feet away. Mark the points you genuinely see, not the lines you have been told to see.
Map your features in calm daylight
Stand near a window with the light in front of you, not directly above. Tilt your chin only enough to look straight ahead. Find the hollow below your cheekbone by gently pressing, then release your face and smile. The place where colour looks most alive is often slightly above the hollow, not deep inside it. A contour stripe started too close to the mouth can drag the whole lower face downward.
Check both sides. Most faces have one cheekbone that sits a touch higher, a brow that arches differently, or a jaw that is fuller on one side. This is normal. Matching every millimetre is not the goal; makeup that follows your real asymmetry usually looks more convincing than a perfectly mirrored map.
Contour should suggest depth, not draw a new face
For contour for face shape, begin with a shade that is only a little deeper than your skin and leans neutral rather than orange. Put down less product than you think you need. On a fuller cheek area, a soft shadow placed high and blended toward the temple can add definition. On a face with a pronounced jaw, a sheer wash just under the jawline may be enough. The heavy brown band seen in ring-light tutorials rarely survives daylight kindly.
Blend upward and outward, then pause. If you can immediately identify the boundary from normal talking distance, keep blending. Cream formulas can melt into skin texture well, while a finely milled powder can be easier on areas that become shiny. Neither is morally better; the right finish is the one that does not announce itself by noon.
| Your visual goal | Try first | Watch for |
|---|---|---|
| More lift through the cheeks | Blend a small shadow high toward the temple | A hollow dragged toward the mouth |
| A softer lower face | Keep bronzer above, not across, the jaw | Dark product under the chin becoming a stripe |
| More definition in photos | Use a sheer matte contour and even lighting | Over-applying to compensate for a close selfie |
| Freshness rather than sculpting | Prioritise blush and a subtle highlight | Adding contour out of habit |
Place blush according to the effect you want
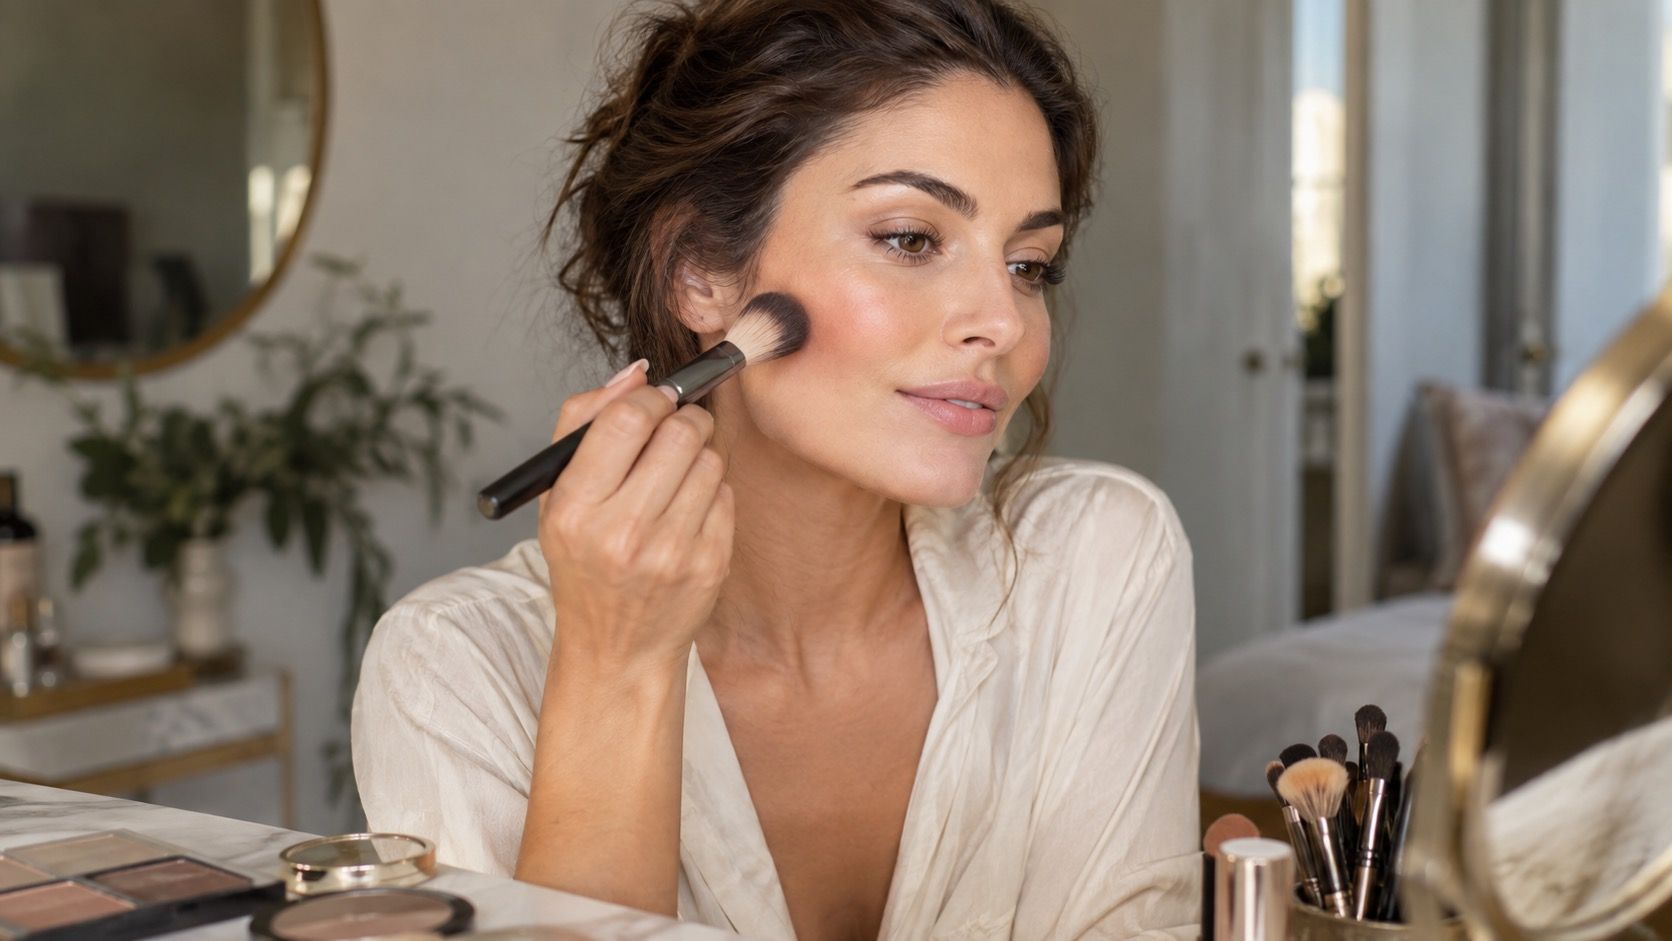
Blush placement matters more than most contour maps. For a lifted effect, start on the outer apple of the cheek and sweep toward the temple, keeping the colour above the line that runs from nostril to ear. For a softer, youthful effect, keep it nearer the apple and blend the edges out. If your face is long and you want it to feel less vertical, a slightly more horizontal placement can work; if it is short or round, a gentle upward angle may feel better.
Use a small amount and inspect it after five minutes. Cream blush often intensifies as it settles, especially over sunscreen, while powder can fade into a matte base. The shade matters too: a muted rose may describe the cheekbone more quietly than bright coral, and a bright shade can be lovely when it is intentionally the main feature.
Highlight needs a reason and a light source
Highlight is not automatically the partner of contour. It can bring forward the tops of cheekbones, the bridge of the nose, or the centre of the chin, but every reflective point becomes more noticeable under flash and direct sun. If texture is visible on the cheek, a satin finish placed narrowly above the blush is often kinder than glitter spread across the whole area.
Test it by turning sideways near a window. You want a soft change in light, not a separate silver patch. On a prominent forehead or chin, you may prefer no highlight there at all. Makeup for face shape works best when it follows the light already falling on you instead of fighting it.
Keep skin texture in the picture
Contouring is hardest to wear when the base underneath is too dry, too thick, or freshly powdered in every direction. Press a thin layer of complexion product into the skin, conceal only where needed, and let the natural planes show. Texture is not a failed canvas. A cheekbone with pores still reads as a cheekbone; a completely flattened base gives powders nothing believable to sit on.
In the mirror, move closer and then step back. Close up, you may notice a tiny uneven edge. At normal distance, you may simply look awake. Let the second view decide. The aim is not a new face shape, but a little more control over where the eye rests.
Adapt diagrams to your own features
Save diagrams as ideas, not instructions. Try one placement for a normal workday and photograph it in indoor light, near a window, and outdoors. If your cheek area looks lifted but your smile folds feel shadowed, move the product higher next time. If the jawline looks harsh, choose less pigment or skip it. Small changes teach more than starting over with a new viral technique.
A face-shape label should leave room for preference. Some people with angular features enjoy a crisp contour; others prefer a wash of blush and nothing else. Both can be right. The useful routine is the one that still looks like your skin, your expression, and your own idea of polished.