A face-shape photo can be useful, but a close selfie is a remarkably unreliable witness. It can enlarge the centre of the face, shorten the jaw, raise one eyebrow through a tiny camera tilt, and turn a familiar outline into something you hardly recognise. The aim is not a perfect portrait; it is a boring, repeatable image that lets you compare proportions fairly.
Why a close selfie changes the proportions
Phone cameras are often used at arm’s length because that is convenient, not because it is neutral. At close range, a wide-angle lens makes whatever is closest to it appear larger. The nose and central face can seem broader, while the ears, temples, and outer jaw retreat. That is why the same person may look rounder in one selfie and longer in a photo taken by a friend from several feet away.
This does not mean selfies are useless. They are fine for checking makeup or a new fringe. They are simply weak evidence for face-shape analysis. If you want to compare your forehead, cheekbone width, and jawline, increase the camera distance first. The small inconvenience pays back immediately in a calmer, less distorted outline.
Set the camera farther away than feels natural
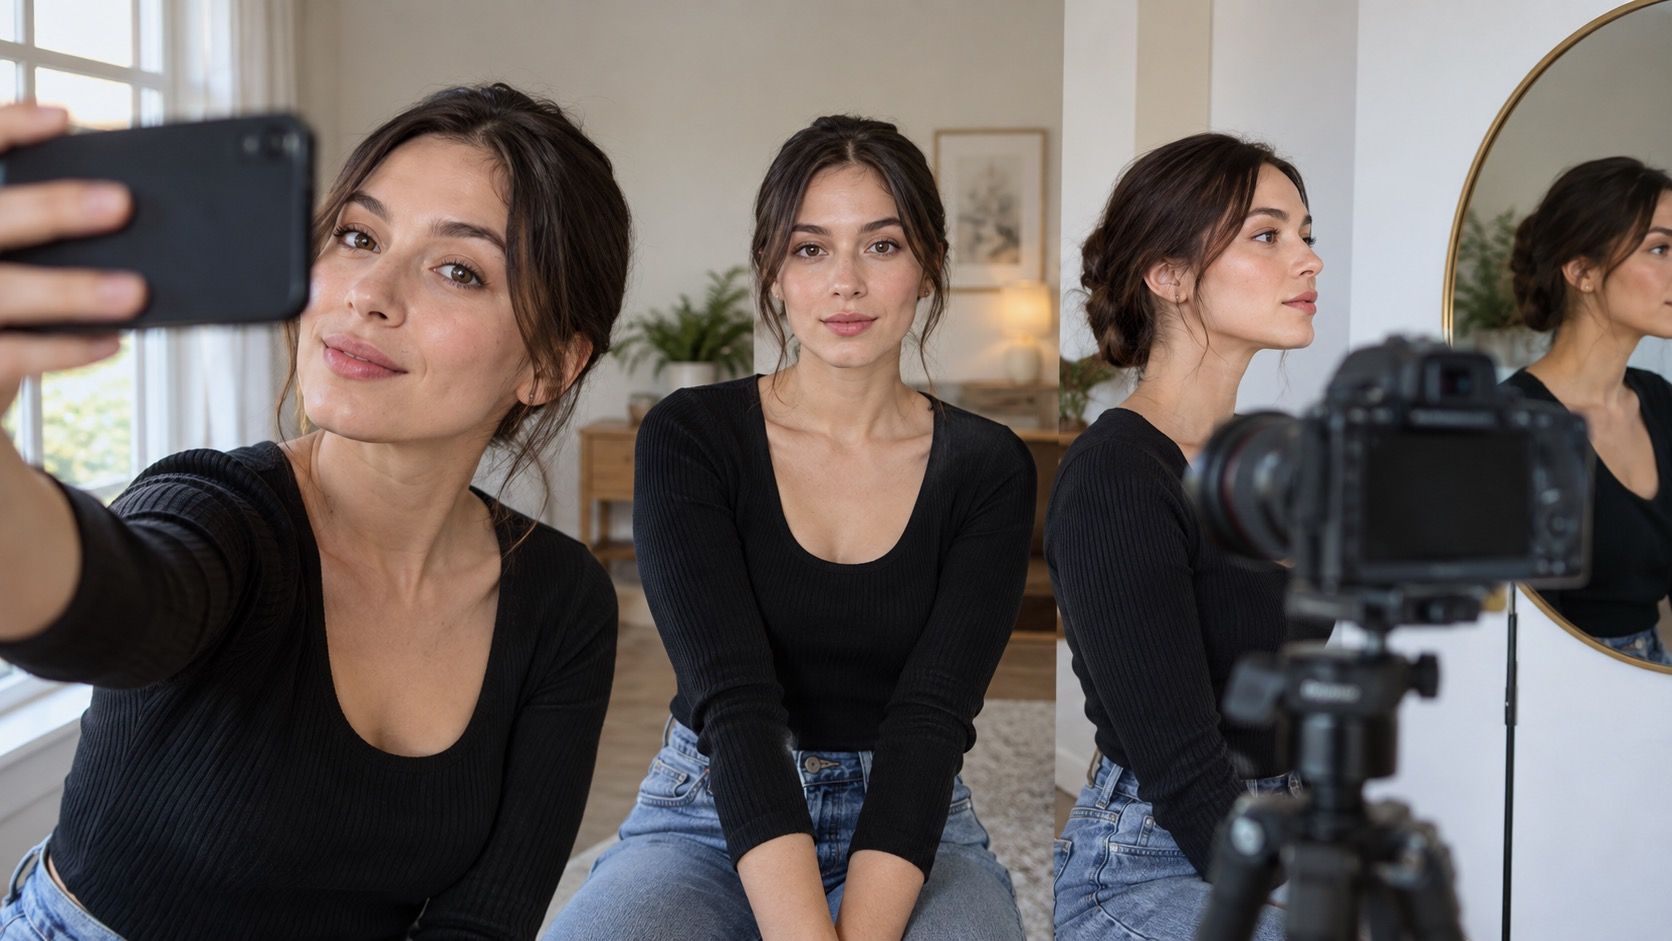
Place the phone about 1.5 to 2 metres away if you can, then crop the photo afterward. A tripod, shelf, or stack of books is enough; there is no need for studio equipment. Use the rear camera when practical because it often gives a cleaner result, but the main improvement comes from distance. Set a timer so you are not reaching forward with one shoulder raised.
Take one photo at the same distance each time. If you compare an old arm’s-length selfie with a new photo across the room, the apparent changes may come from the lens rather than your face. Keep a note in your phone: distance, camera, and whether you used portrait mode. That tiny bit of consistency is more valuable than an elaborate face-shape app result.
| Photo choice | Likely effect | Better option for analysis |
|---|---|---|
| Phone held close below the face | Central features enlarge; jaw can look short | Use a timer and step back |
| Portrait mode with strong blur | Edges and hairline may be altered | Use ordinary photo mode |
| Camera above eye level | Forehead and eyes feel more dominant | Keep lens near eye level |
| Sun from one side | One cheek and jaw look narrower | Face an evenly lit window |
Keep the lens at eye level, not where it is convenient
A lens placed above the eyes can shorten the lower face and make the forehead seem larger. A low camera can strengthen the jaw and lengthen the chin. Neither angle is wrong for a portrait, but both complicate an honest front-facing photo. Put the lens at roughly eye level, stand tall without stretching your neck, and look at the lens rather than the screen preview.
Check the horizon behind you. A doorframe or shelf line makes a subtle tilt easier to see. If the camera is leaning, one side of the face may appear wider before you have even moved. It takes only a few seconds to level the phone, and it avoids over-interpreting a jaw that was never uneven in the first place.
Use flat, even light before judging width
Window light on an overcast day is ideal because it shows the outline without carving one side into shadow. Stand facing the window, a step or two back from it, and turn off a bright lamp directly overhead if possible. Strong sunlight from the side can slim one cheek, deepen the under-eye area, and make the nose cast a sharp line across the centre of the face.
A plain wall behind you helps. Busy backgrounds confuse the edge of hair, ears, and jaw, especially in phone processing. Keep hair pulled back if you are trying to assess the outline, but do not pull it so tight that it changes how the temples normally appear. A loose clip or headband is usually enough.
Take a small set of comparison photos
One image invites too much certainty. Take a front-facing photo with a neutral expression, then a second one with a relaxed smile, and a third with the head turned only slightly. The front view is best for comparing face length and cheekbone width; the slight turn reveals whether a cheek or jaw feature is being hidden by flat light. Keep your shoulders square rather than twisting one side closer to the camera.
Repeat the set on another day before deciding your face shape. Sleep, hydration, hair, and expression affect what you see. If the same broad pattern appears in both sets, it is probably useful. If the label changes completely, treat it as a sign to look at individual proportions instead: forehead width, cheekbone width, jaw width, and length.
Use a neutral expression, then check a natural one
For the reference shot, close the mouth gently and relax the forehead. A forced “neutral” face can be just as misleading as a dramatic smile; the goal is the expression you make when somebody says your name across a room. Do not suck in the cheeks or push the chin forward. Both are common instinctive reactions when a timer starts, and both change the lower-face contour.
Afterward, take one photo while smiling normally. If the cheeks lift high and broaden the middle of the face, that is part of how your face is seen in daily life. It does not invalidate the neutral photo. The two pictures simply answer different questions: underlying outline versus lived expression.
Know when to ignore an automated result
An analysis tool can offer a label, but it cannot know whether your hairline is obscured, the lens was too close, or your face is between categories. Ignore a result that contradicts several well-lit, level, more distant photos. Ignore it if it changes after a haircut or a ten-degree camera tilt. Software is measuring pixels, not making a diagnosis.
Use the photo as a reference, not a verdict. The best face-shape analysis photo is plain enough that you can revisit it later and still understand what it shows. Once the camera stops exaggerating the evidence, choosing glasses, hair, or makeup becomes much less of a guessing game.